Fall is such a magical season! The colors, the cool crisp air, the slower pace. It’s a season that invites us all to pause a little more and take notice. We have collected some wonderful fall art activities over the years so it’s nice to finally have them rounded up in one place to share with you. In this post you will find some nature-inspired art projects, craft ideas, open-ended art invitations, and maybe an artist study or two! Happy Fall, Y’All 🍁
Our leaf printable was created to be used in several projects in this post. Opt in now and let’s have some fall art fun.
** Please note that we participate in the Amazon Affiliate program. This means if you purchase any of the products linked here we will receive a tiny sales commission at no additional cost to you. We only link to products we use and love. Your support helps us keep this site running - thank you!

Big Pop Art Apple- ART CAMP Studio
1. make a pop art apple
This collection would not be complete without an Apple art project! This Pop Art experience invites you to take your printmaking to the next level. Grab the full project plan here.
Big Pop Art Apple Project - Project PDF Sale Price:$9.99 Original Price:$30.00 Add To Cart
Acorn & Clothespin Dolls by ART CAMP Studio
2. have an acorn doll fashion show!
Create your own collection of colorful, fashionable, acorn friends! This invitation to create combines all of our favorite ingredients: nature, dress-up, and PLAY!
You can find project instructions, tips and tricks, a linked supply list, acorn doll mock-ups, fashion sketch pages, collage sheets and more inside of the acorn doll e-book.
download your copy here:
Acorn Doll e-Book $25.00 Add To Cart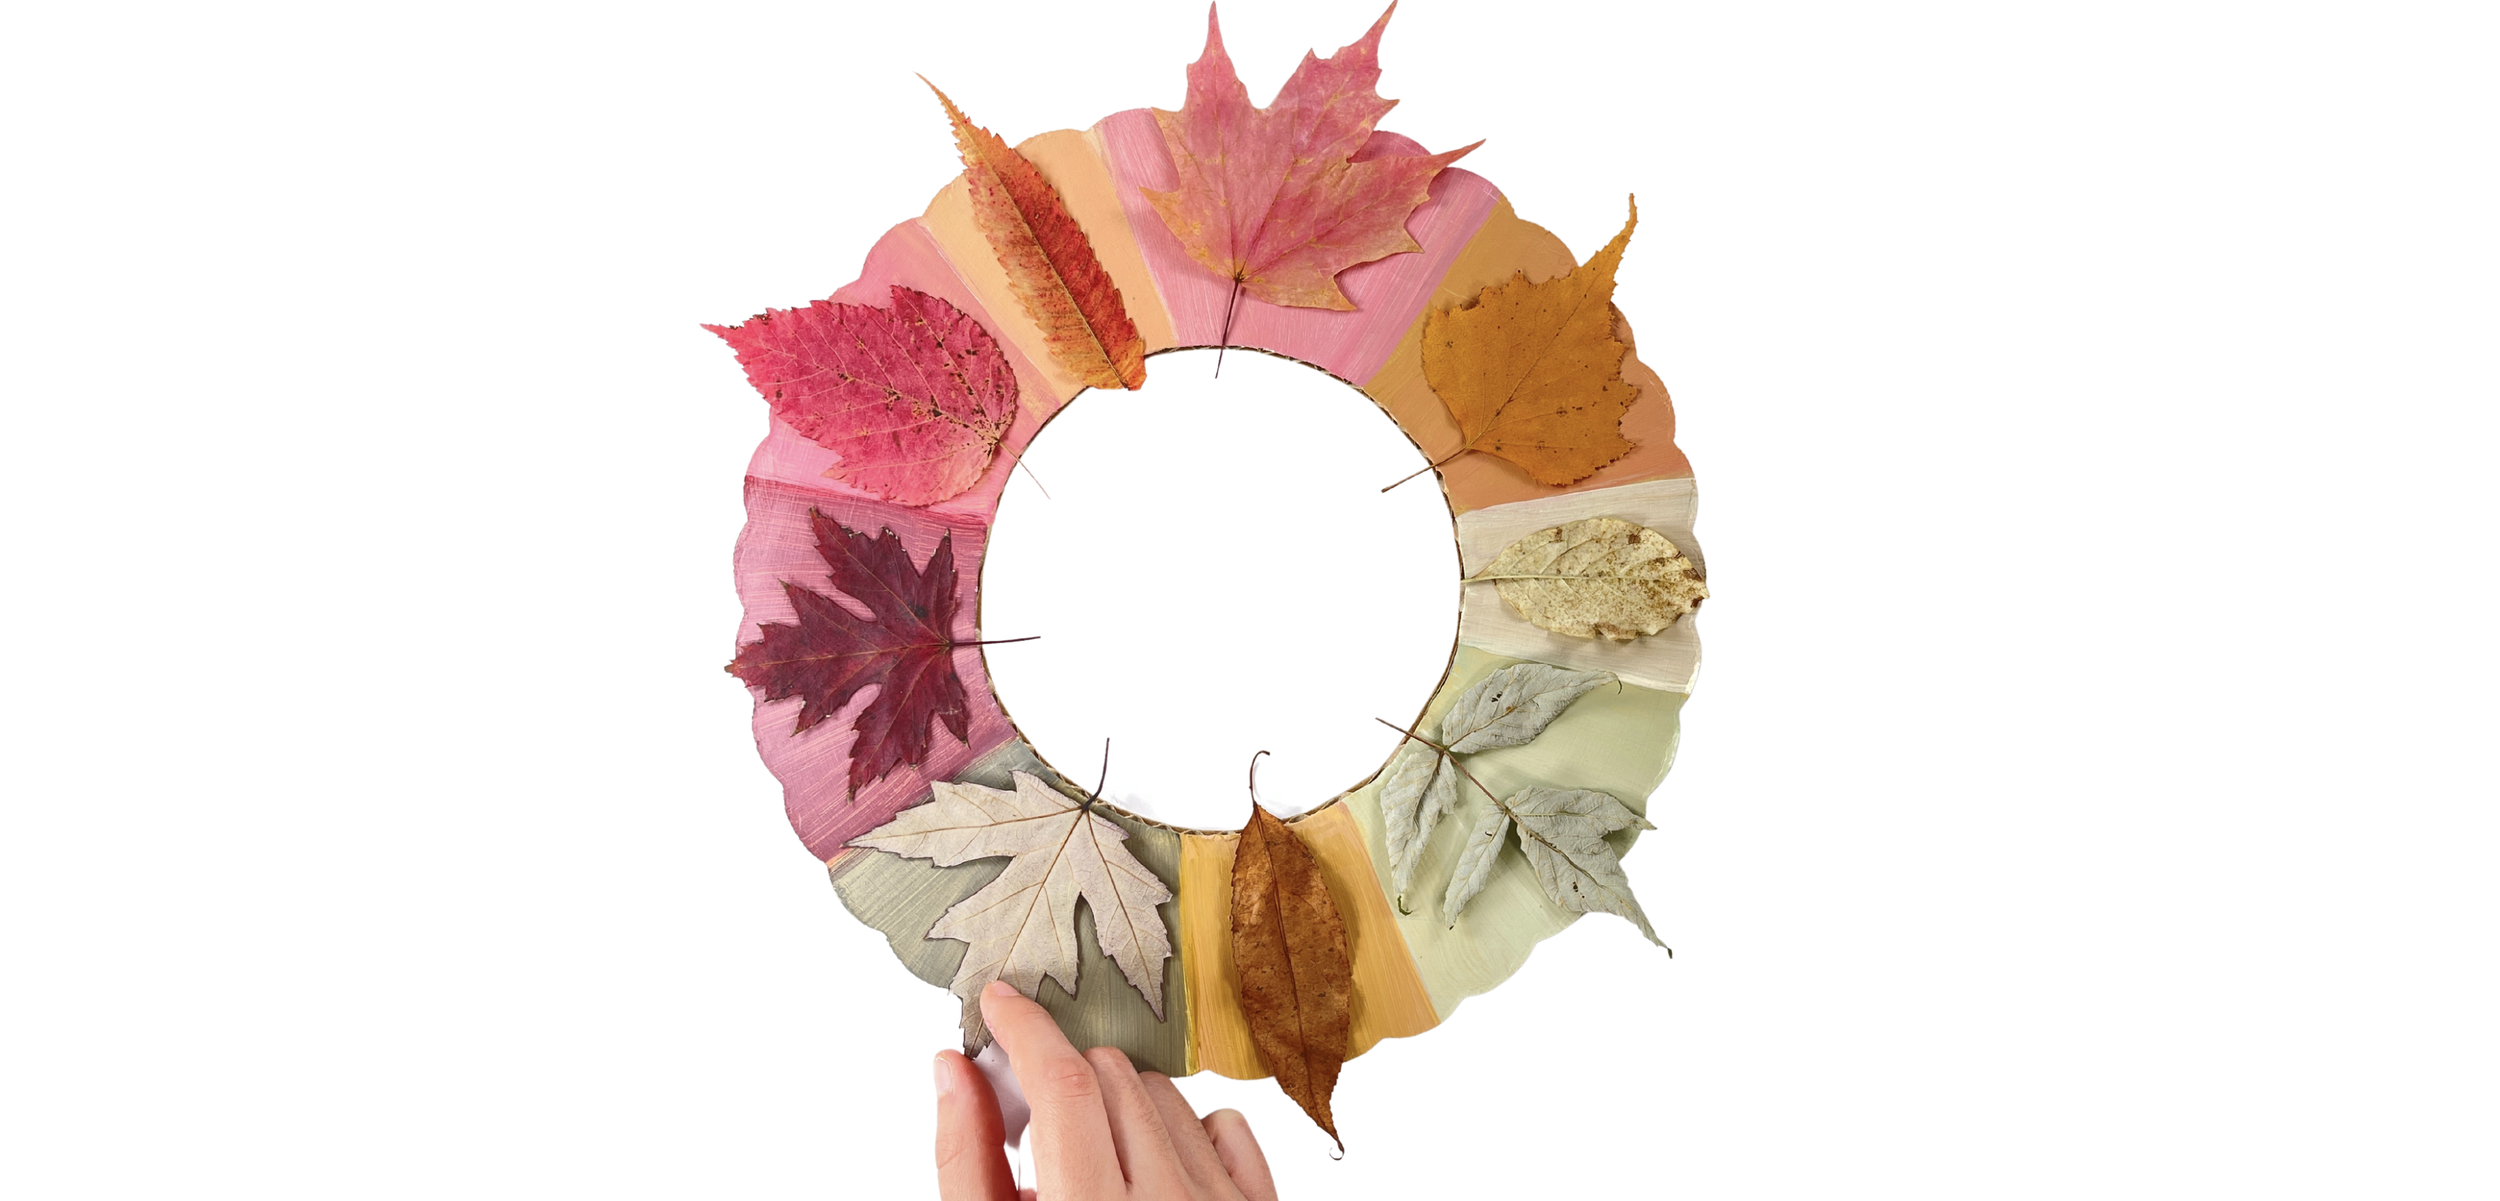
Autumn Color Wheel Wreath by ART CAMP Studio
3. make an autumn color wheel wreath
The color wheel is a common fixture in art rooms everywhere and a fundamental part of art education.. but what about a Fall Leaf Color Wheel?! This project is a great way to explore color mixing and matching. Start by collecting an assortment of colorful leaves and then see if you can color-match your leaves with paint! You can check out a fun little process video here. The cherry on top? The end result is a beautiful nature/fall-inspired wreath to hang on your wall!
If you live in a place where colorful fall foliage is hard to come by - We get it! Inside the Fall Leaf Bundle you will find a nice array of colorful leaf images to use in your leaf art projects. They are almost as pretty as the real thing!

Leaf Mobile and Wall Hanging by ART CAMP Studio
4. make a leaf mobile or wall hanging
We know that a lot of fall art projects feature leaves, but not everyone has access to amazing fall foliage. Or maybe you don’t have enough leaves for hundreds of students. This is a project that we have done with fresh, dried, cut paper, printed, and faux leaves! Each leaf type works great! Pop over to our friend Bar’s site for a great tutorial. You will find leaf shape templates and digital leaf images inside your Fall Leaf Bundle!
Leaf Crown By ART CAMP Studio
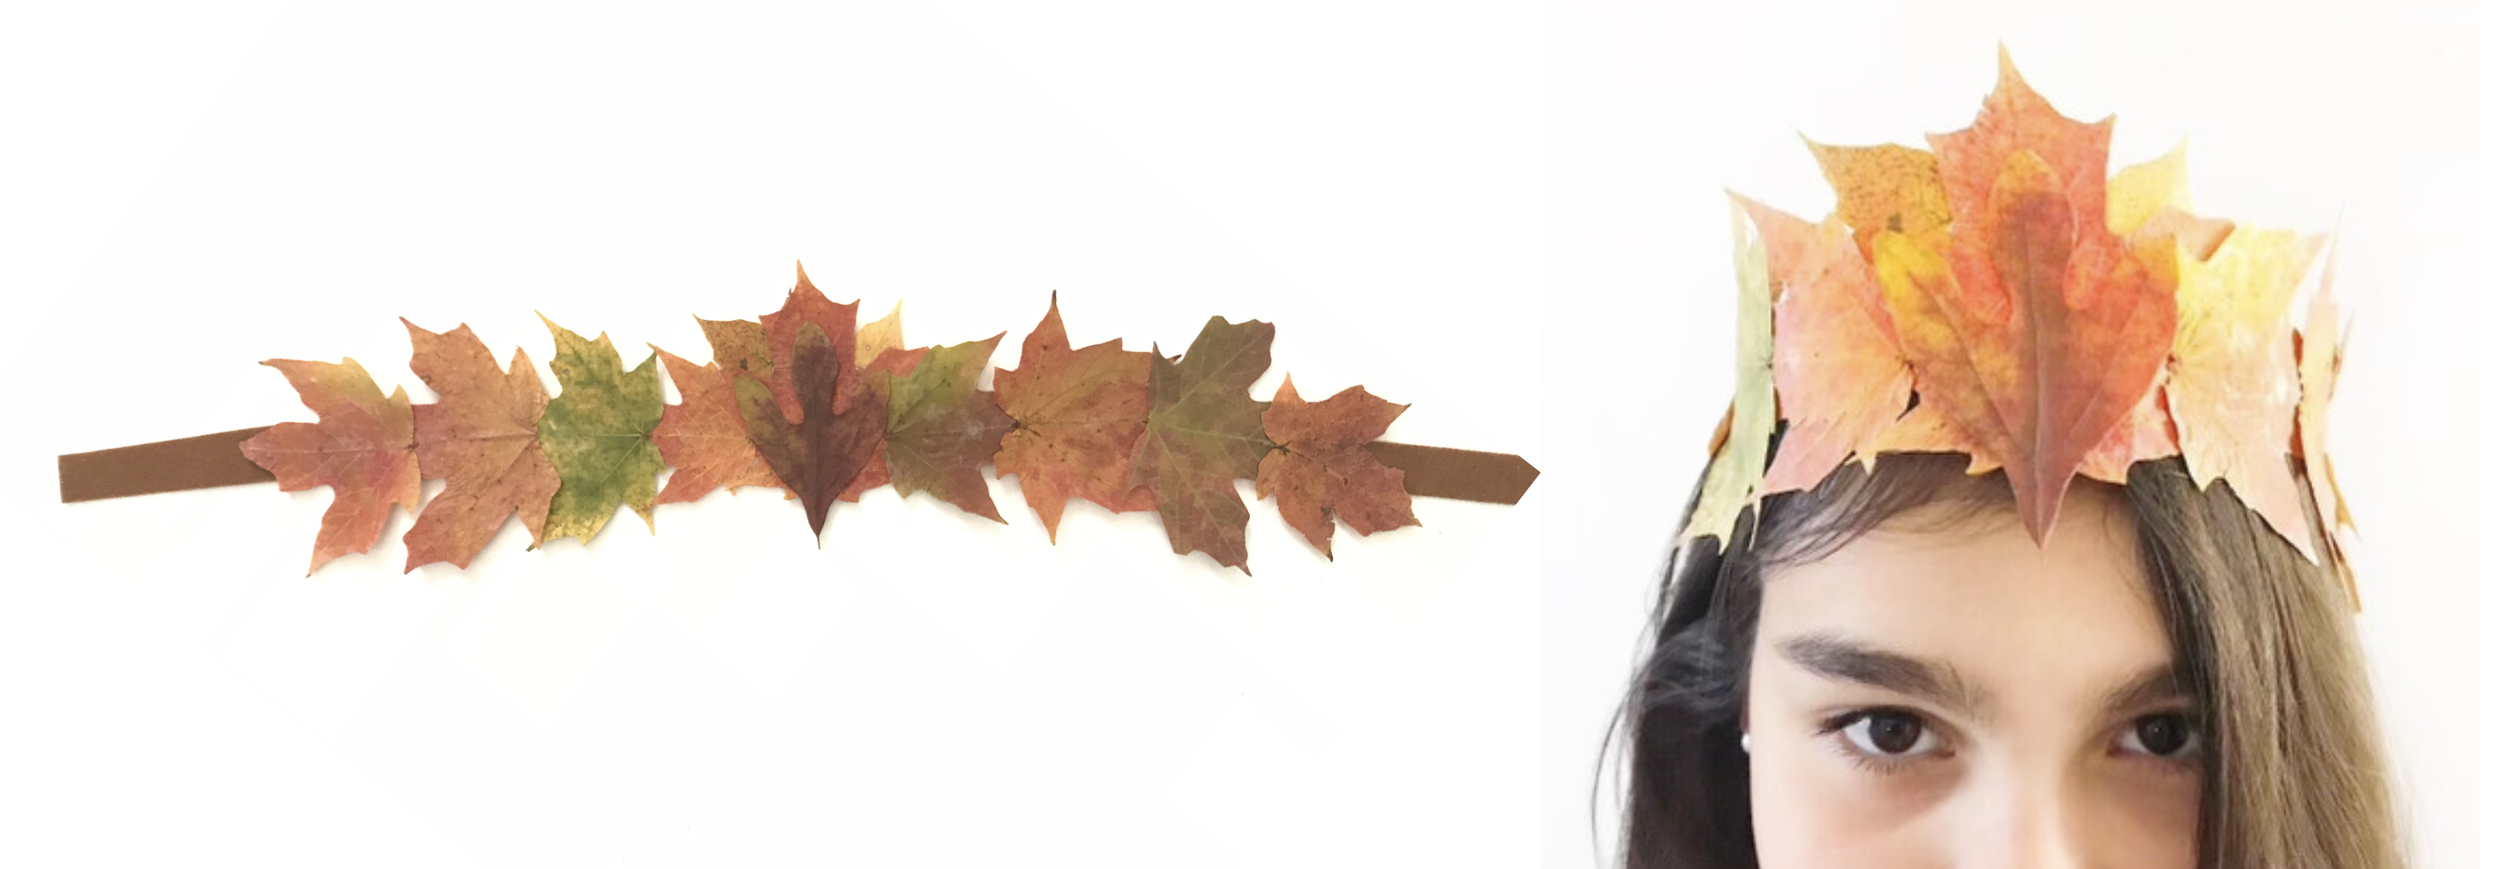
5. make a leaf crown
Leaf crowns are a fall art classic! If you are looking for simple: create a crown shape out of craft paper, construction paper, or a paper bag and let the kid’s decorate and glue leaves on top. If you are looking for a slightly more elevated (and a tad more involved) approach, we love this process:
What you will need:
We used dried leaves - each crown needs about 10-13 leaves
1. Gather a beautiful assortment of autumn leaves.
2. Begin to lay out your leaf crown by selecting your front and center leaf followed by the next 4 leaves on either side.
3. Cut the ends off of all of your stems so you have a blunt sturdy edge to work with.
4. You will begin to thread your leaves together by poking the cut stem through the back of the leaf, over the front and back out again. Think: basic straight stitch. Continue to thread your leaves together with this in and out stitch until you have achieved the desired crown size. If you want to make sure that your leaves are fastened securely, you can add a dab of hot glue to the tips of the stems after you stitch to ensure that they don’t slip out. Add some finishing touches by gluing smaller leaves and/or feathers on top of your crown base.

Nature Collage On Cardboard by ART CAMP Studio
6. make a nature art scroll
Step one, grab a basket. Step two, get outside and start foraging! Step three, combine your nature treasure with some paint and glue and create a nature scroll! Find the full post here.
Magical Mark Making Forest by ART CAMP Studio
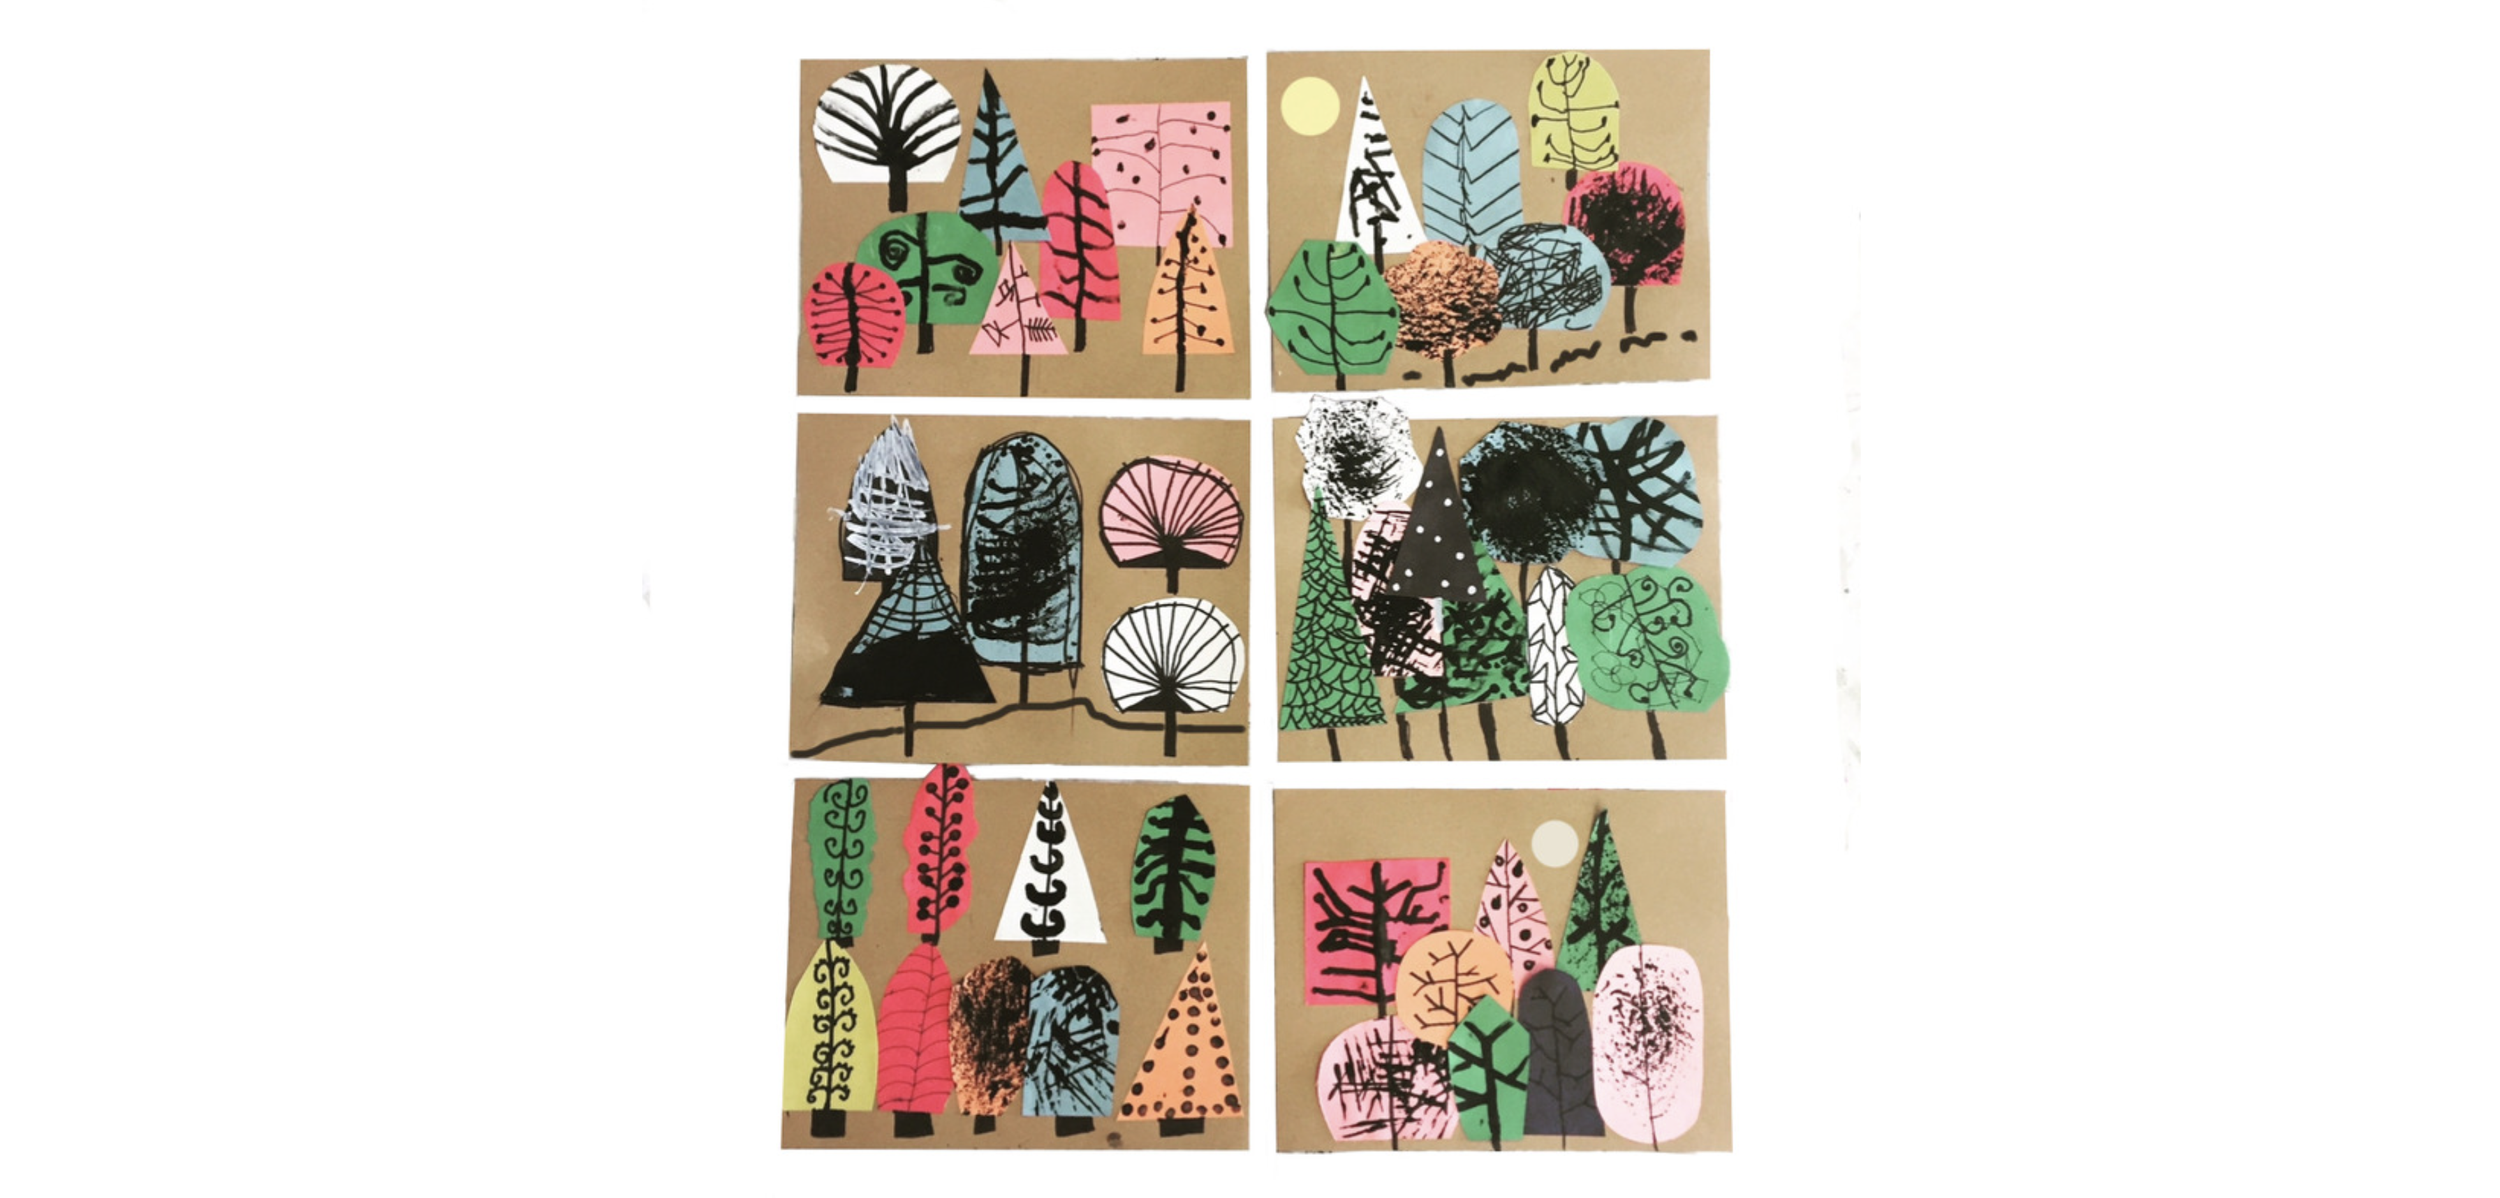
7. make a magical mark making forest!
We love this project 365 days of the year, but we REALLY love to pull it out when the temperatures start to dip and the leaves begin to turn. Want to make a Magical Mark Making Forest of your own? Click here for the full post.

Cardboard Barn Quilts project plan by ART CAMP Studio
8. make a collection of cardboard barn quilts
All the warm and cozy vibes of a barn quilt, but this mini art version calls for cut paper and cardboard! Find the full project plan here.

Leaf Art Gallery by ART CAMP Studio
10. Make a leaf art Collection!
The beauty of this project is the simplicity of materials and the process art approach!
Materials:
Process:
Create process paintings on cardboard (we used watercolor and oil pastel) then paint and decorate your leaves. Combine the leaves and the cardboard squares with glue (we used a glue gun but any type of liquid glue will work) and create a leaf art collection! This is one of those processes that we could do forever. So meditative and lovely!
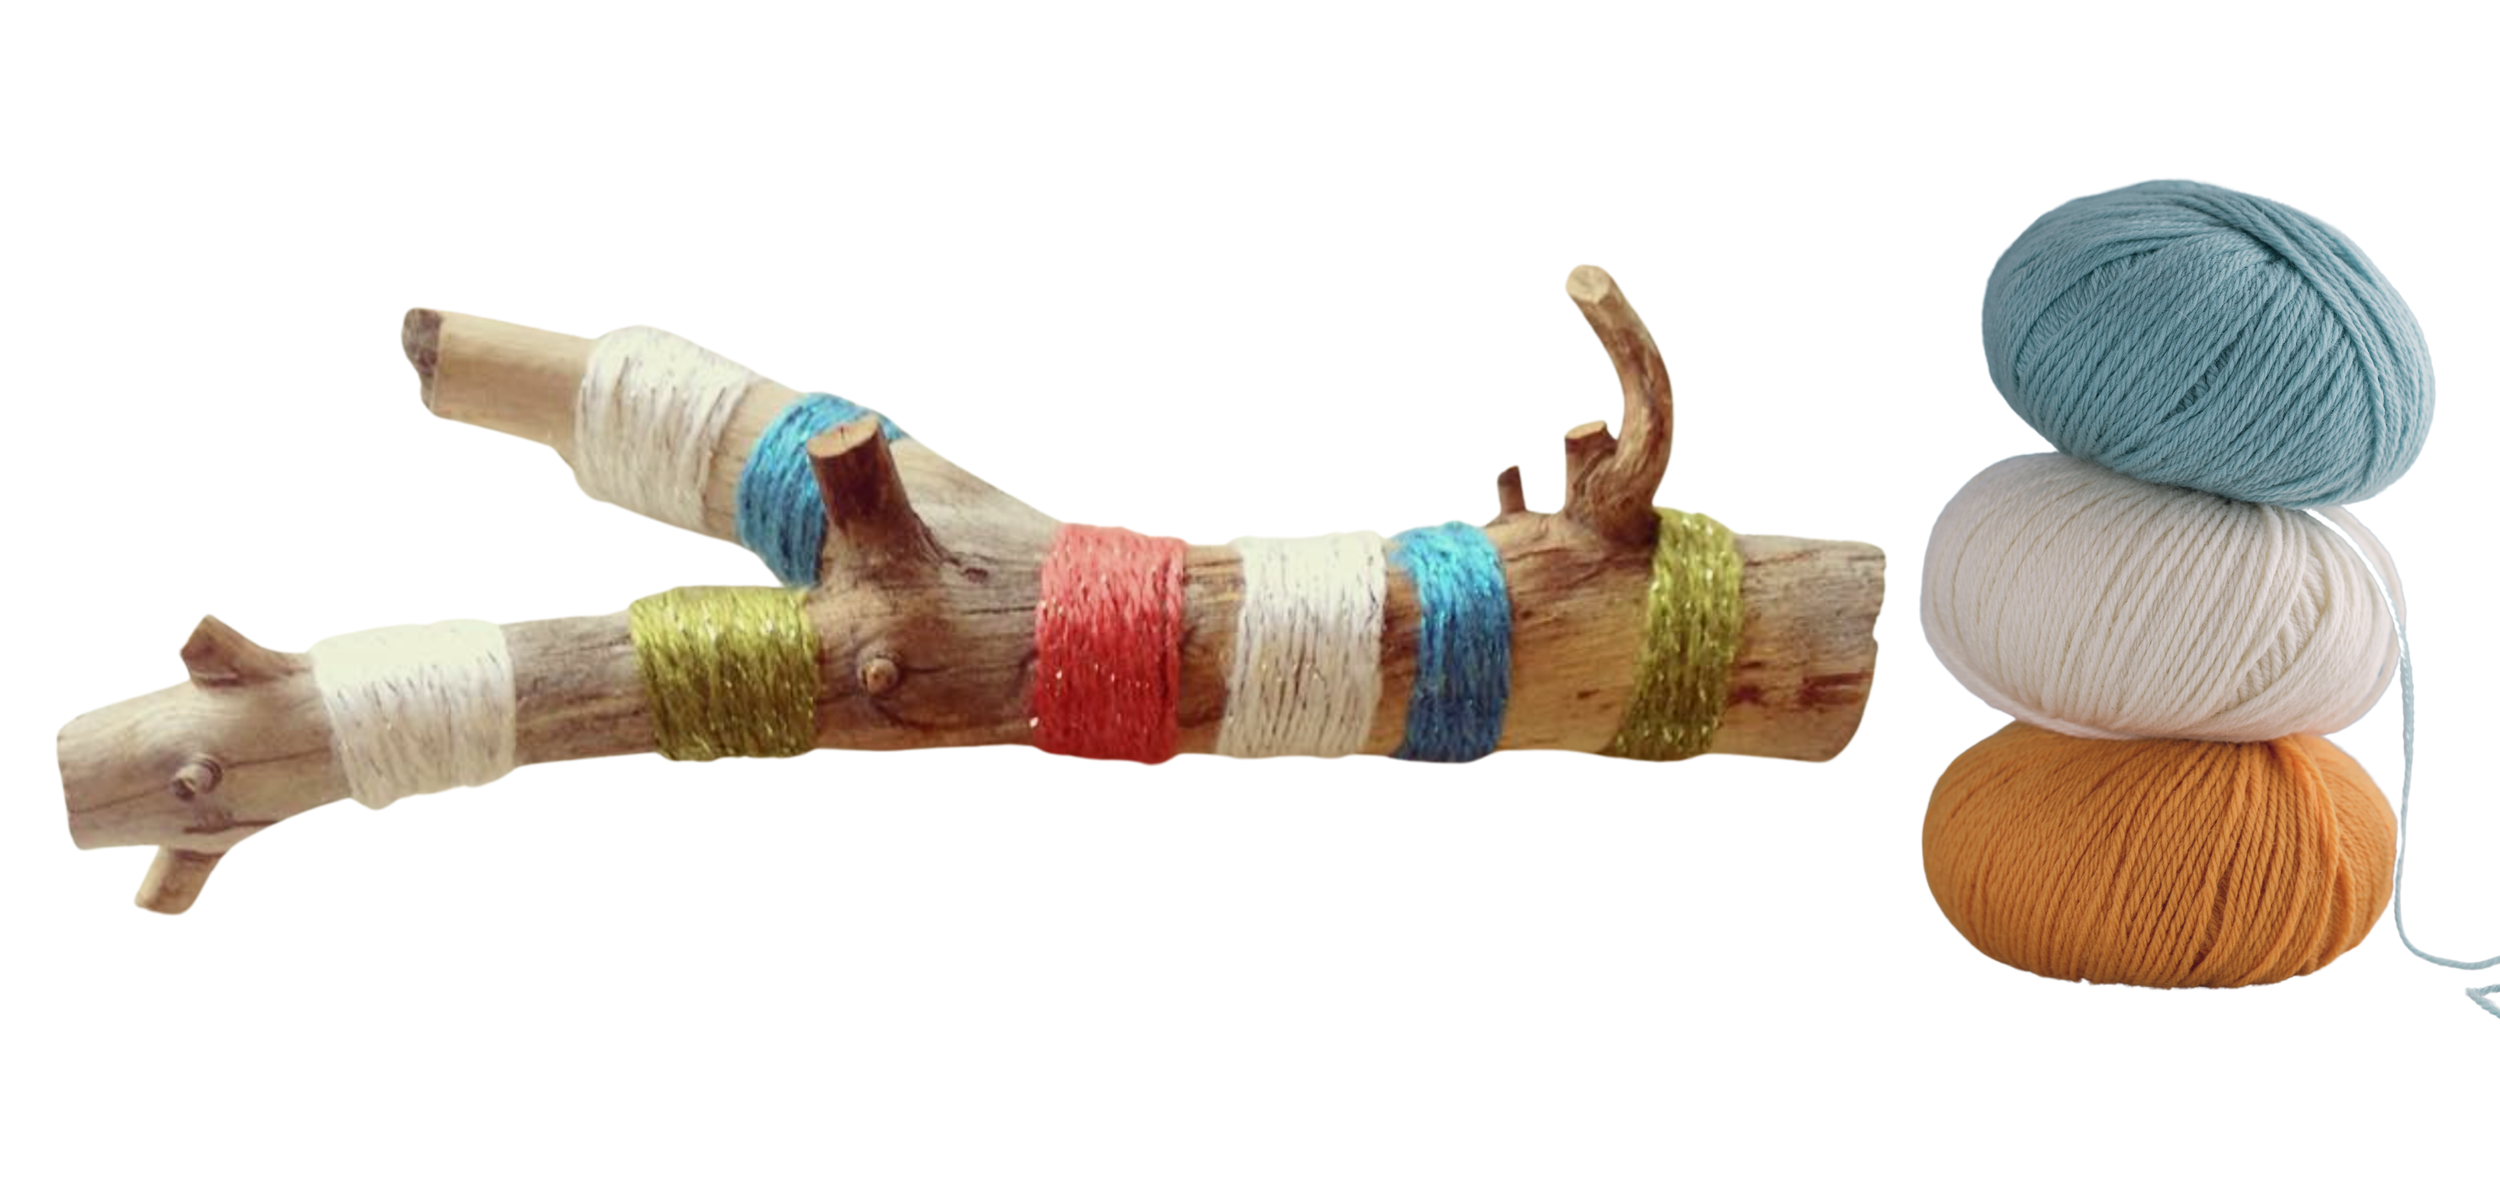
Wrapped dried branches
11. wrap OR PAINT dried branches
We love the accessibility of this fall activity and the open-ended nature of the process!
Wrapping - Some artists may decide to only wrap certain spots, leaving large sections of the natural branch exposed. Other artists might want to wrap the entire branch, covering it in tightly wrapped stripes of color! What other materials could you add to your wrapped branch? Beads, feathers, bendy wire?
Painting - for opaque coverage use liquid tempera or acrylic paint. For a more ethereal look you can try watercolor palettes or tempera puck palettes.
Chalk markers and paint pens are great for adding designs and finer details!

Mixed Media Pastoral Landscapes by ART CAMP Studio
12. create a colorful pastoral landscape painting
Break out the tempera paint palettes and let’s explore color! Click here to read the full post.

Calico Corn by ART CAMP Studio
13. make model magic calico corn!
This project combines sculpting and painting to achieve beautiful bumpy calico corn! Find the full project plan here.

Yayoi Kusama Inspired Pumpkins by ART CAMP Studio
14. paint pumpkins and gords in the style of Yayoi Kusama
“A polka-dot has the form of the Sun, which is a symbol of the energy of the whole world and our living life, and also the moon, which is calm. Round, soft colorful, senseless and unknowing. Polka-dots can’t stay alone; like the communicative life of people, two or three polka-dots become movement… Polka-dots are a way to infinity.” - Yayoi Kusama
You know it wouldn’t be an ART CAMP project round-up post without including at least one artist study! Introduce young artists to the work of Yayoi Kusama and then paint a real or faux pumpkin using:
View the IG post here.
Pair this project with a book! We love Yayoi Kusama Covered Everything in Dots and Wasn't Sorry.

Folk Art Sewing Plates by ART CAMP Studio
15. stitch folk art plates
Handmade beauties! This festive folk art invitation is a very fun intro to sewing for little ones and an easy, breezy creative project for the bigs... and it only requires a few materials! Read the full DIY post here.
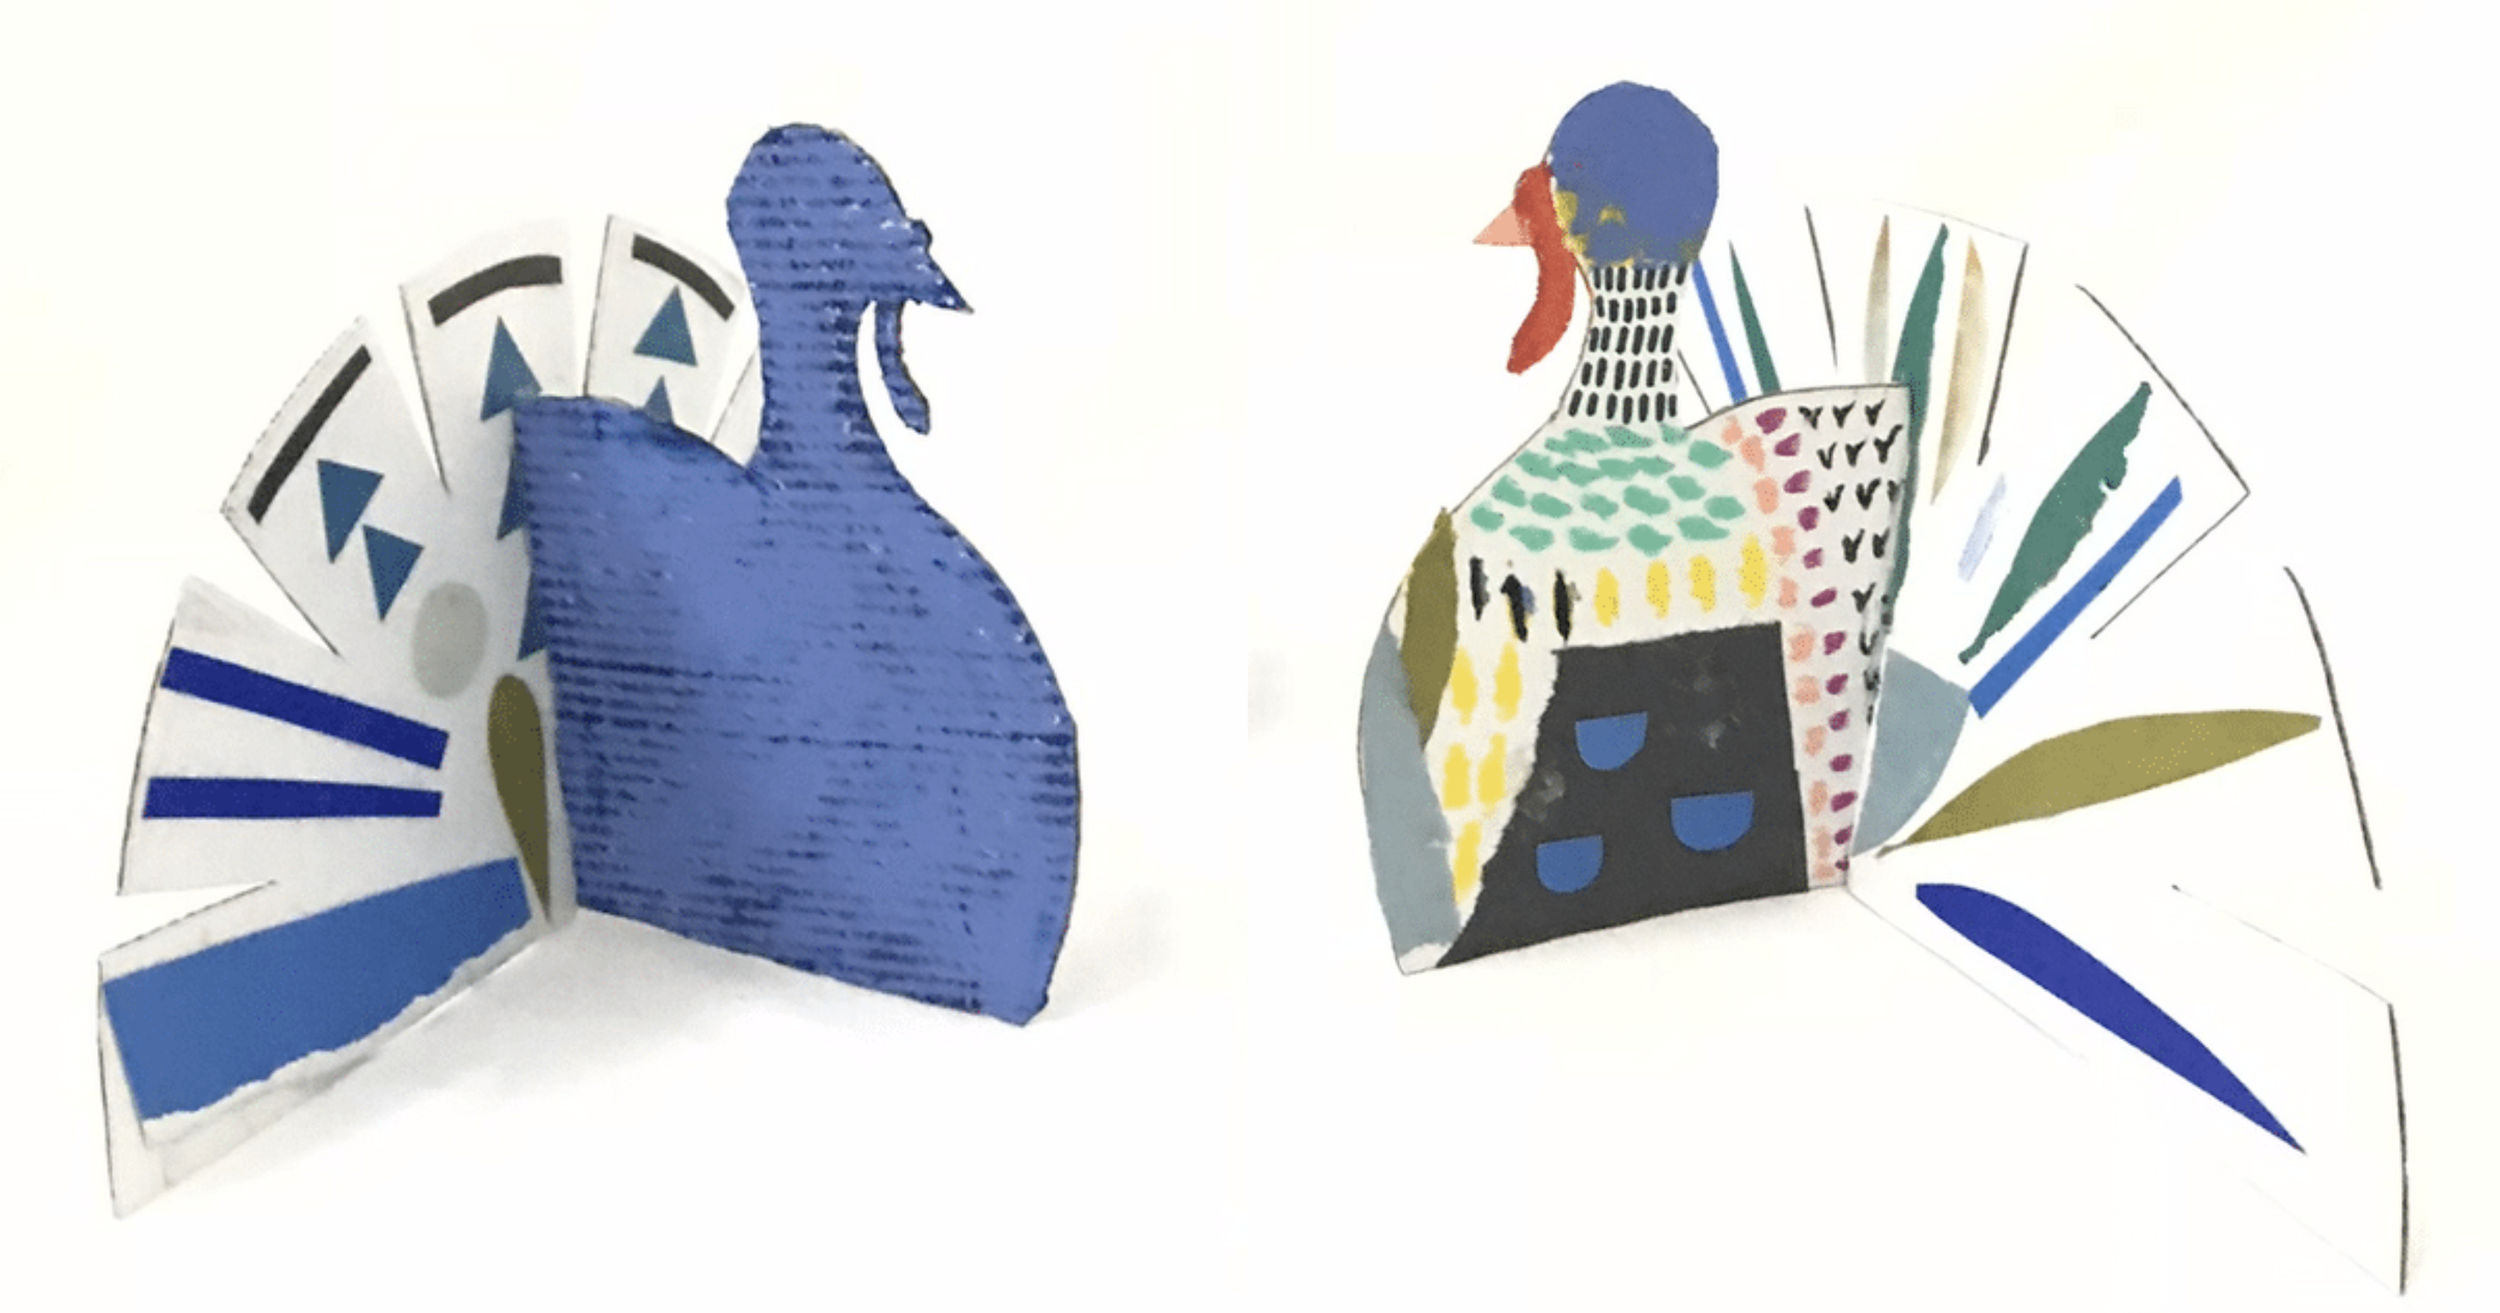
Cardboard Collage Turkeys by ART CAMP Studio
16. Build a 3D Cardboard Collage turkey!
If you love your turkeys on the wild and colorful side, (like we do) you will LOVE this mixed media project. Find the full post and FREE turkey template here.

Handmade Brushes made by Rag Tag Magpie
17. make mark-making brushes!
Create your own mark-making tools using items found in nature! A good stick or thick twig make great brush handles. Bristles can be made from things like:
Pine needles
Flowers
Buds
Feathers
Dried grass
Pinecones
This is an invitation to get really creative with natural elements! Read more about these fantastic handmade brushes from Rag Tag Magpie by clicking here.

Harvest Wall Hanging by ART CAMP Studio
18. paint a harvest wall hanging
A paper grocery store bag creates the perfect canvas for this beautiful wall hanging inspired by artist Marina Strocchi. This is an artist study + painting process that can be done with minimal materials and the outcome is spectacular. Find the full project plan here.
Harvest Wall Hanging Project - Project PDF Sale Price:$9.99 Original Price:$30.00 Add To Cart
Paper Tube Owls by ART CAMP Studio
19. Make Paper Tube Owls!
These 3-D owls are SO much fun to make! You can also mix it up using the same idea, but add wings and make a colorful, textural colony of bats!
Materials:
You will create the owl horns by folding down the top of your paper tube. Then paint the tube and let it dry fully before adding your details with chalk markers or paint pens. Don’t have paint markers? Use a liner brush and paint your details.
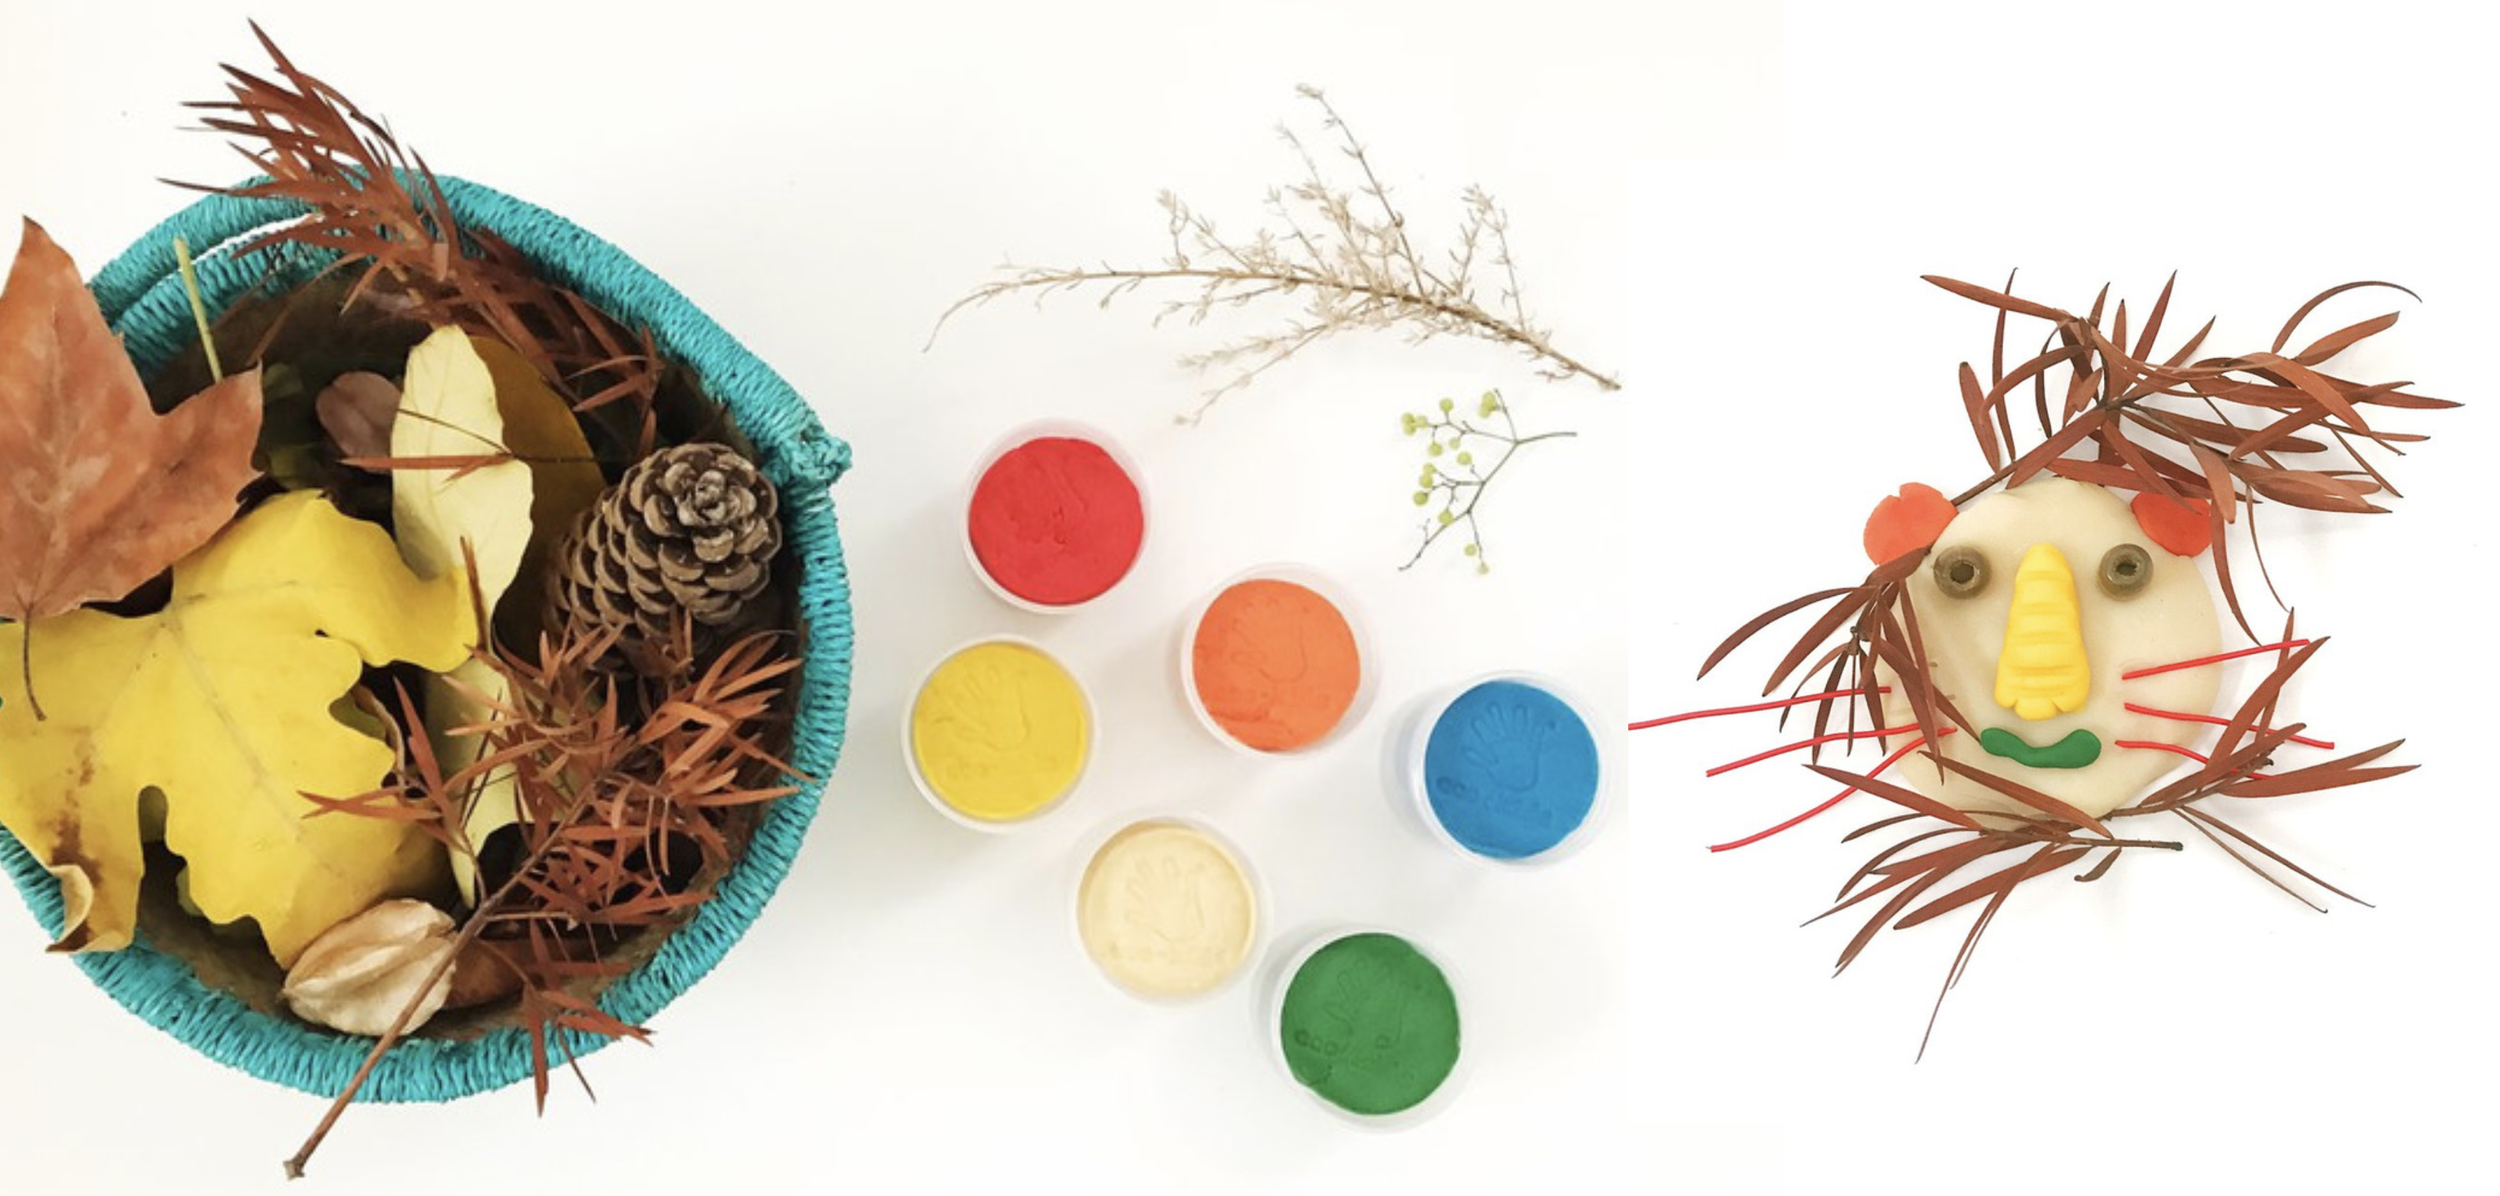
Sensory Art For Kids With Elements From Nature by ART CAMP Studio
20. set up an “invitation to create” using natural loose parts and dough
This is a beautiful open-ended creative invitation. Read the full post we created for Rose & Rex here.
ART CAMP Pro is coming..
Are you a private studio owner, art educator, or kids art business? We are building an online community that offers ongoing professional training and project licensing for commercial use! Sign up HERE to hear more about ART CAMP Pro and access all the first come first serve perks, exclusive content, live sessions and Q+A opportunities.


